
How to backup contacts from DELL XPS 10
PhoneCopy.com makes it simple to back up your contacts from DELL XPS 10 to the cloud. In this guide, we will walk you through the entire process step by step.
You need an PC with an operating system Windows 8, 8.1 or 10 and application PhoneCopy for Windows 8. You can find it in "Windows Store" in "Productivity" section, or just follow this link.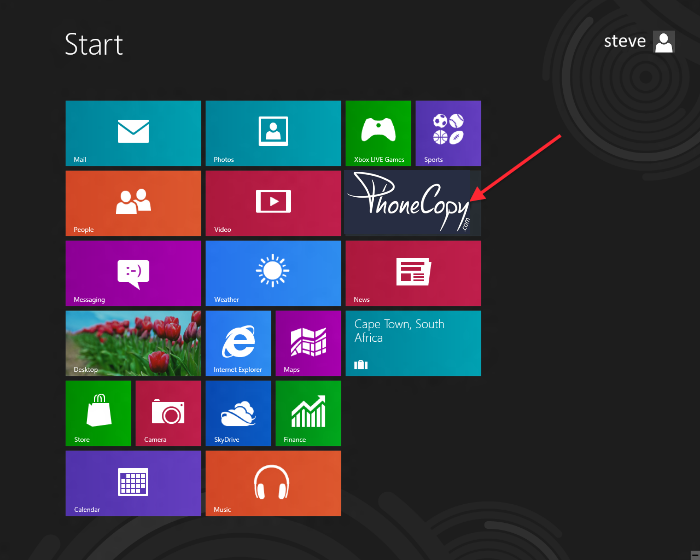
Synchronize contacts from your account on PhoneCopy to Windows 8
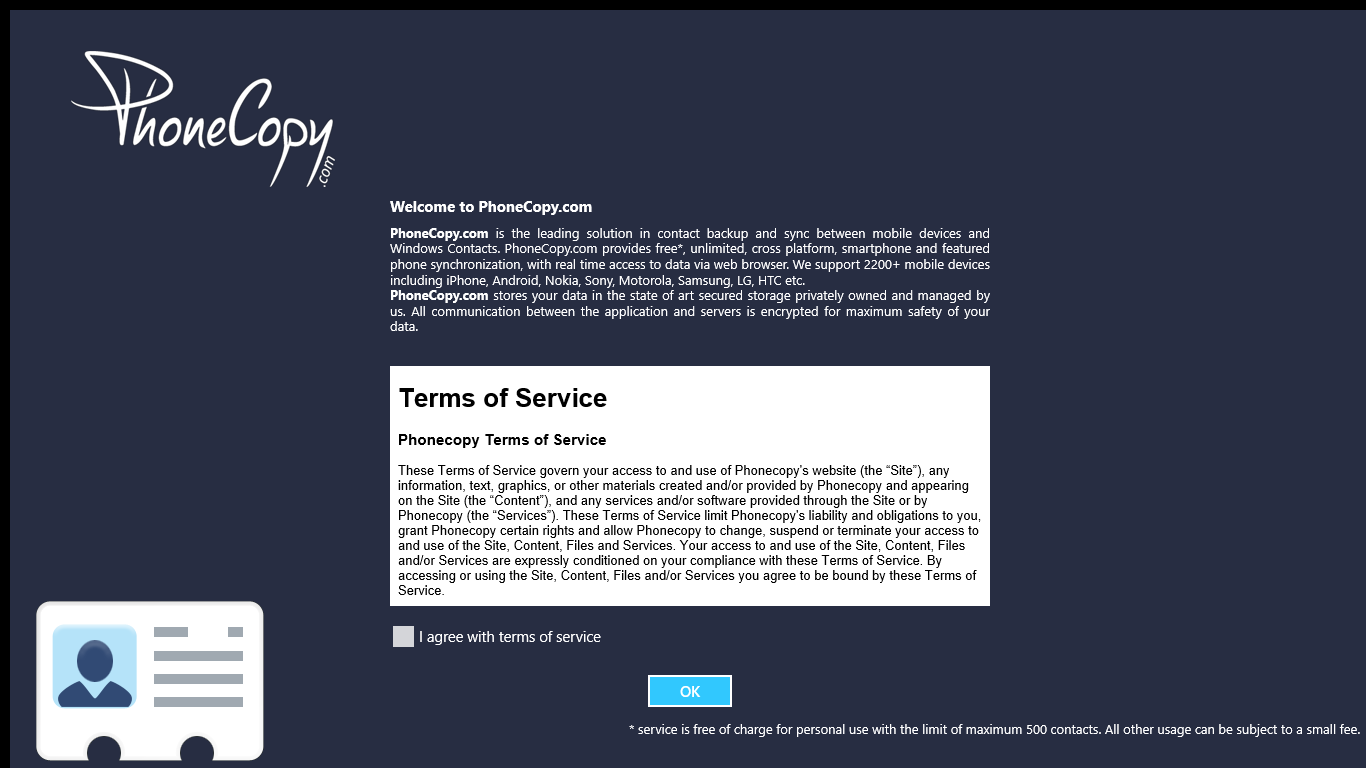
Open PhoneCopy application and read initial instructions.
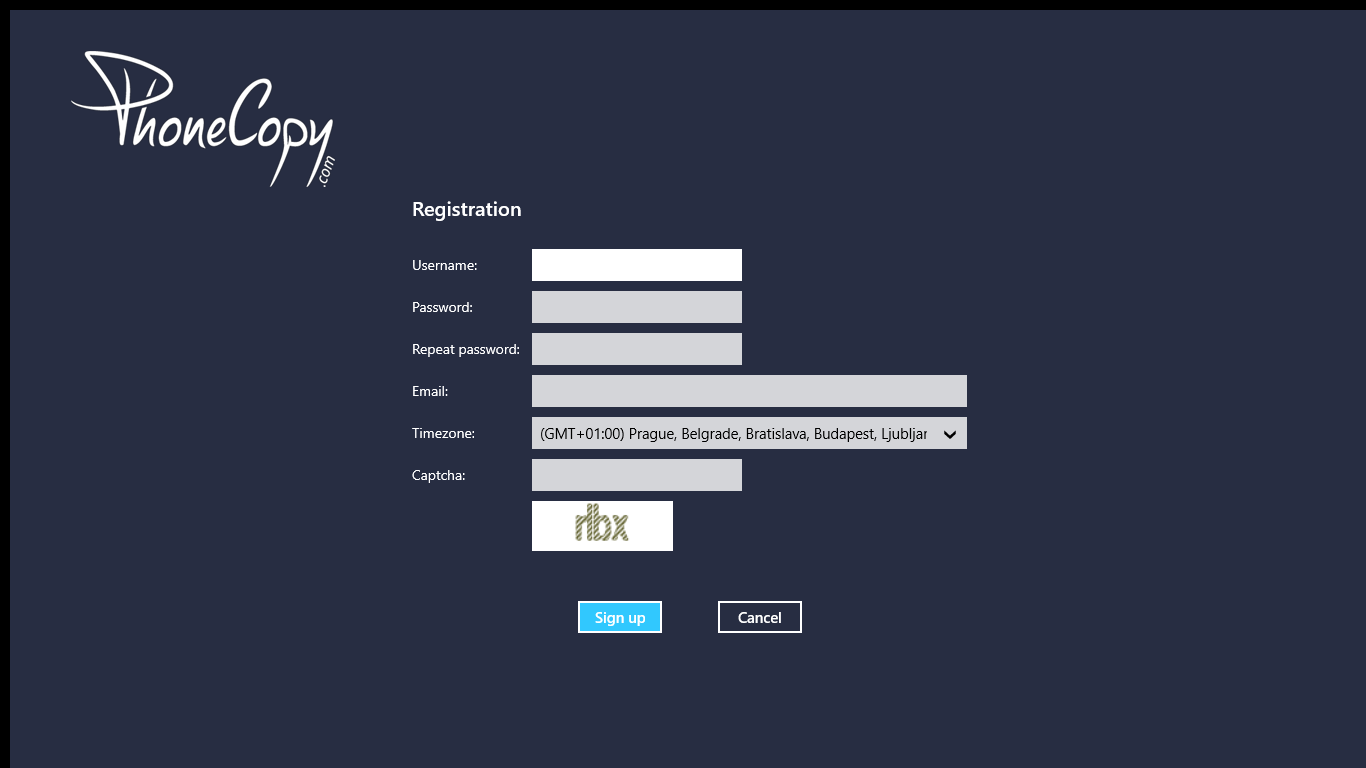
If you don't have an account on PhoneCopy.com, choose "Create new account". If you already have an account on PhoneCopy.com, choose "Use existing account".

When you create new account, you will see registration for. Fill all boxes and click to "Sign up".
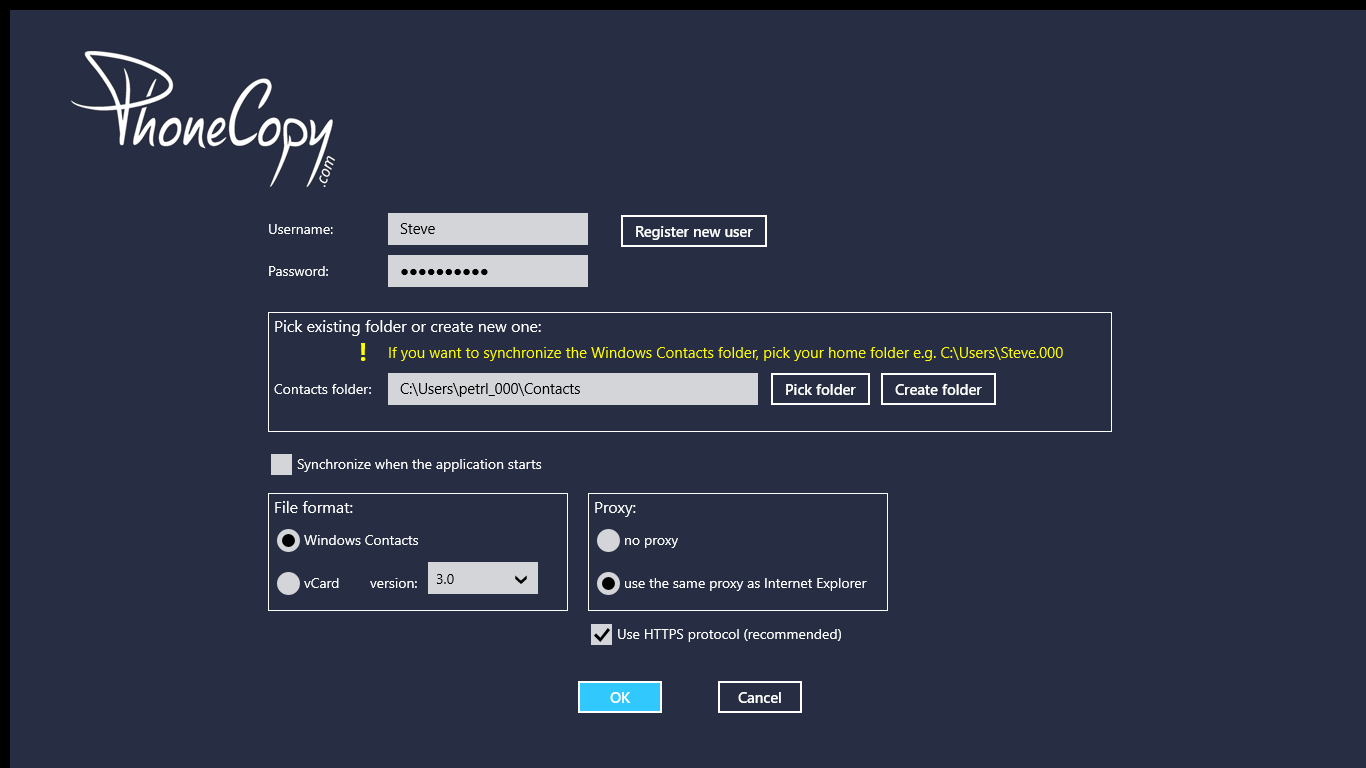
If you already have an account, fill your login credentials. "Pick folder" to select where will be your contacts stored.
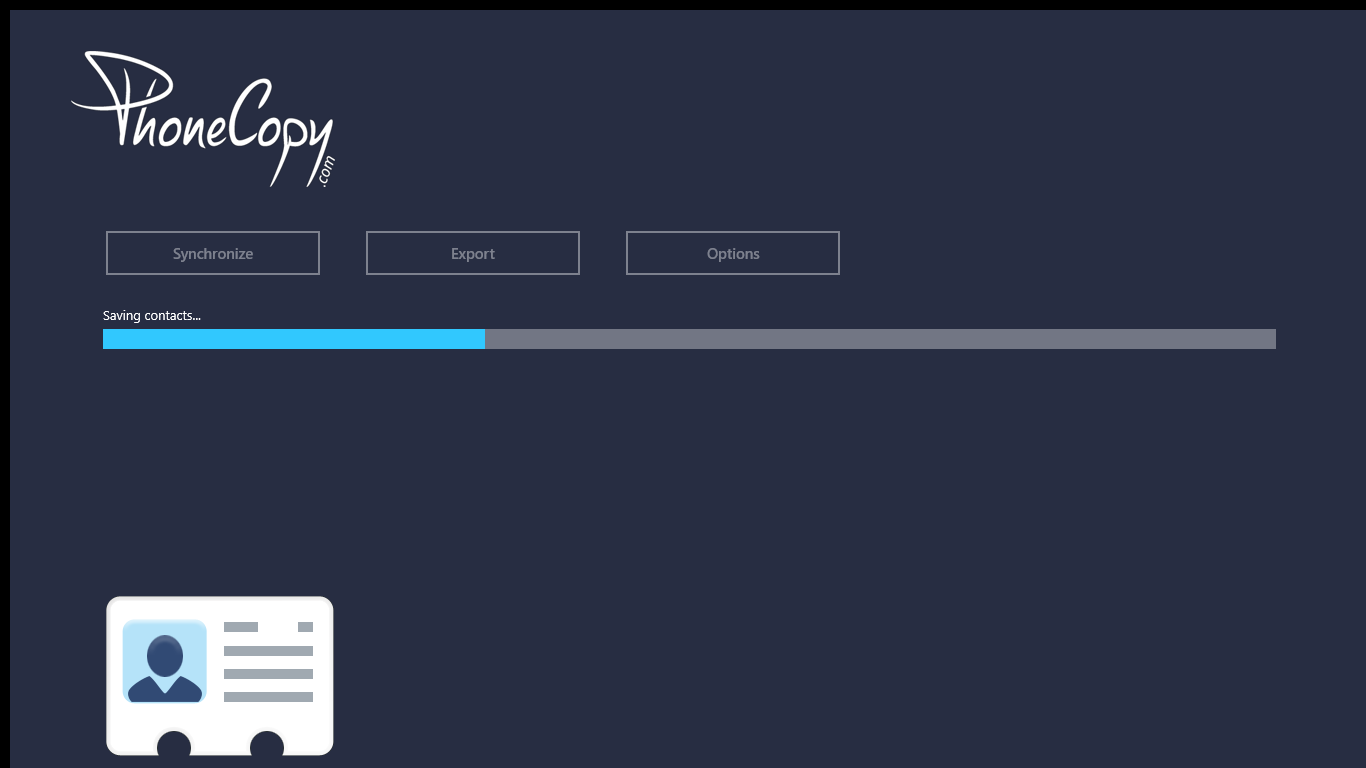
On next page start synchronization by pressing "Synchronize" button.
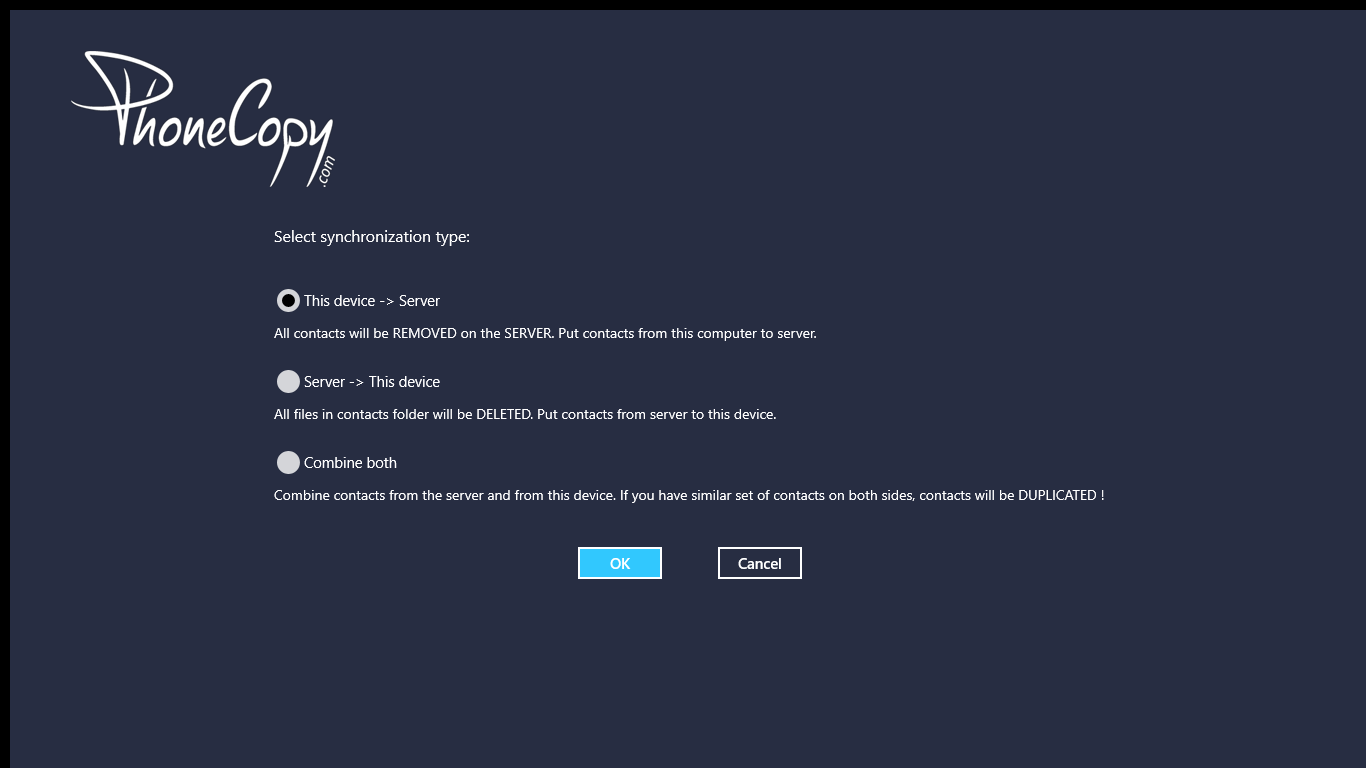
On first synchronization you will be asked for synchronization direction.

In case you don't have contact in selected source you will be noticed.
When you will add any contacts to selected directory you will see it synchronized to PhoneCopy after next sync.
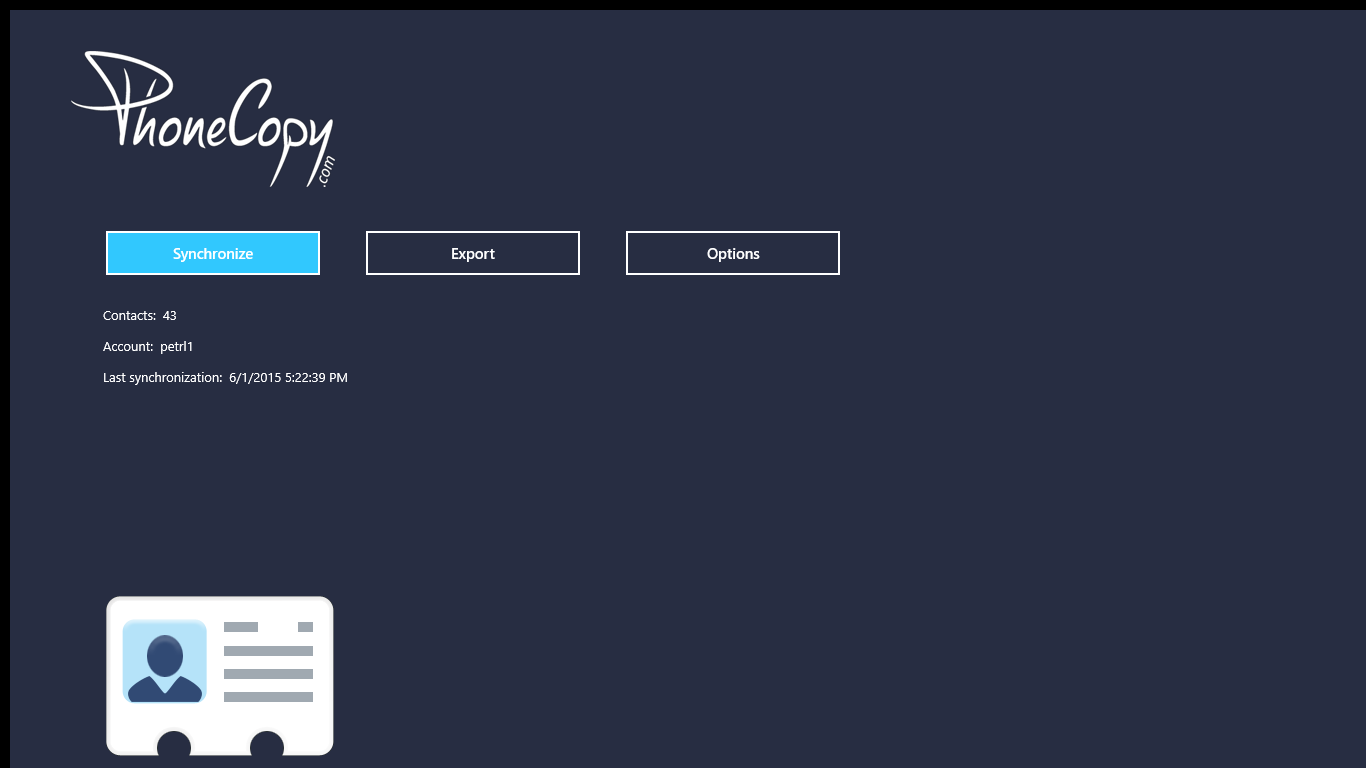
You can see page with information about your synchronization.
That is all there is to it. Your contacts are now backed up on PhoneCopy and you can access them from any browser whenever you need them.
Some additional tips:
Contacts can be then transferred to another device (eq. iPhone, other Nokia, SonyEricsson, Samsung, LG etc). You can always edit your contacts in your online account. Also, you will see full history of your contacts, as well as the data that you have deleted between two synchronizations.